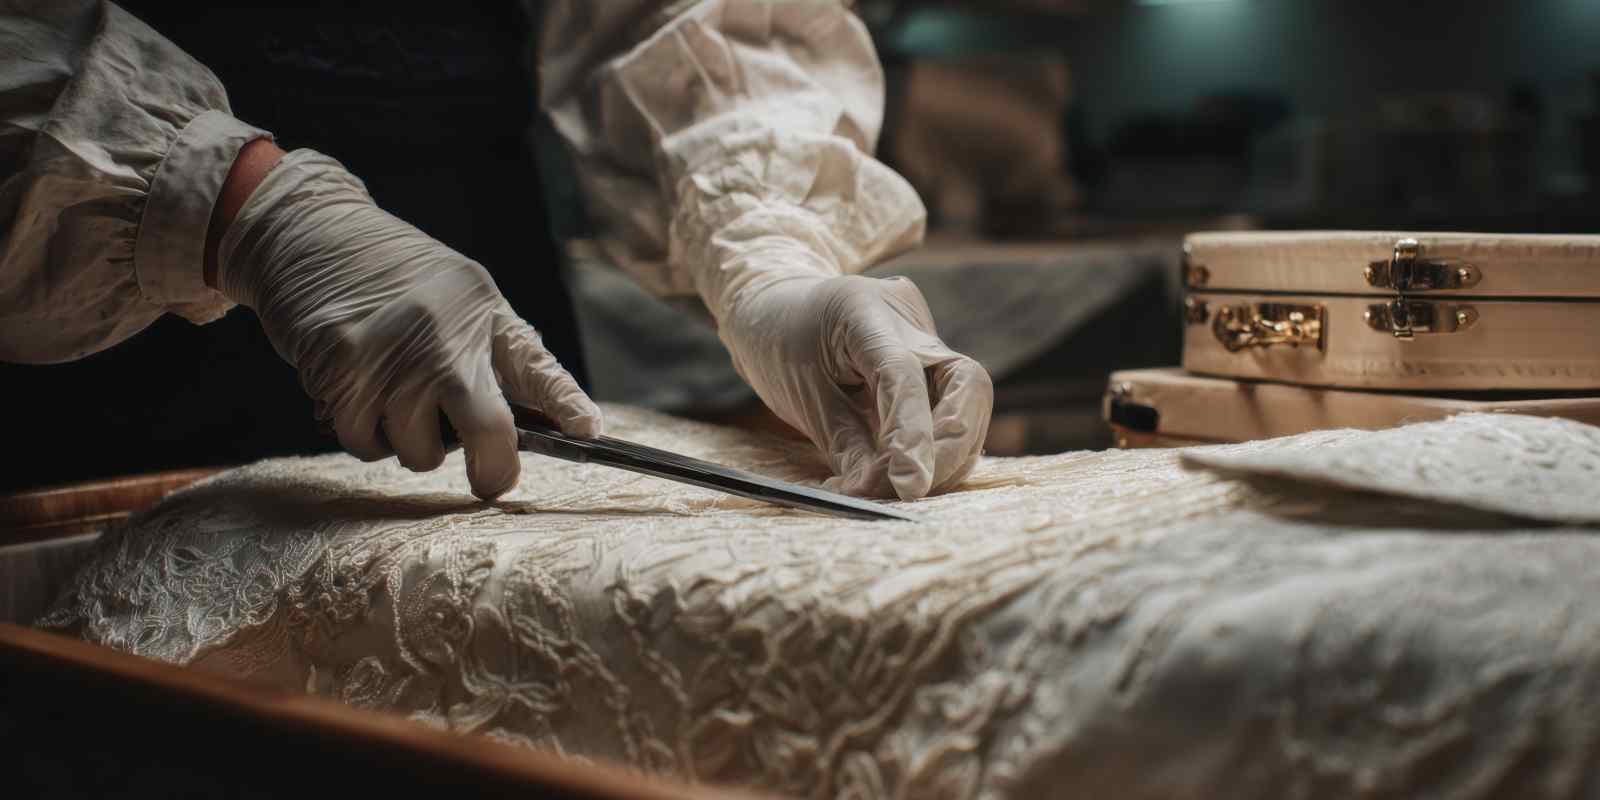

People imagine embalming as a single procedure that happens behind a closed door. However, the process is actually multiple steps documented in a sequence of six stages, each governed by chemistry, anatomy, and a set of decisions the embalmer makes based on factors that are specific to each case.
Students working toward a degree in mortuary science (opens in a new window) have to perform the hands-on stages under supervision before they graduate.
What Is Embalming, and Why Is It Performed?
Embalming is the chemical preservation, disinfection, and restoration of a person’s remains after death. A licensed embalmer replaces circulating blood with a preservative solution, treating the abdominal and thoracic cavities separately and restoring a natural appearance. This allows families and friends time to grieve with the body, hold a viewing, delay a service, or transport the deceased.
Embalming is optional in most circumstances. Federal law does not require embalming (opens in a new window), and no state requires it routinely for every death, though some states do require it when a body will be transported or held beyond a set number of days. Under the Federal Trade Commission Funeral Rule, a funeral home must disclose in writing that embalming is not required by law except in certain cases, and must obtain express permission before beginning the procedure.
The Embalming Process Step by Step
The embalming sequence is standardized, moving through case analysis and authorization, sanitation and positioning, feature setting, arterial injection, cavity treatment, and a final wash with restorative work and dressing.
1. Authorization, Intake, and Case Analysis
Written authorization from the person with legal authority comes first, along with the death certificate information and any permits the state requires.
Identification is confirmed at intake. The embalmer then performs a case analysis that considers age, cause of death, medical history, physical condition, and time elapsed since death. Decisions made in this step will influence the rest of the procedure, including embalming fluid strength, injection sites, and expected complications.
2. Sanitation and Positioning
Preparation rooms are regulated work environments. Ventilation has to hold formaldehyde below the permissible exposure limit (opens in a new window) of 0.75 parts per million as an eight-hour average, and embalmers work in full protective equipment. The remains are disinfected and placed supine with the head elevated. The limbs are massaged and flexed to relieve rigor mortis so the embalming solution can reach the extremities.
3. Setting the Features
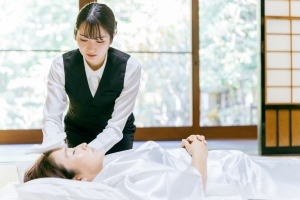
The eyes and mouth are closed and the expression is posed before the embalming fluid enters the body. Eye caps hold the lids naturally, and the jaw is secured so the mouth rests without tension. Tissue is still pliable at this point, but the arterial solution firms it and fixes the expression. Correcting a poorly posed feature after that point is much harder than posing it correctly the first time.
4. Arterial Embalming
An artery and its companion vein are raised through a small incision. The right common carotid and the internal jugular are frequent choices because the artery is large, elastic, and close to the center of circulation, and the vein beside it is large enough to carry blood away as the solution moves in.
Preservative solution enters under pressure while blood drains out. The embalmer mixes the solution’s strength to meet the needs of each case. Issues such as edema, jaundice, and long intervals since death introduce complications that change how tissue accepts fluid.
Pressure and rate are adjusted during the injection. Firming tissue, a color shift, and clearing in the hands and feet signal that solution has reached the capillary beds. When an area fails to clear, a second site is raised and injected separately.
5. Cavity Embalming
Arterial injection doesn’t reach the contents of the thoracic and abdominal cavities. For this, the embalmer inserts a trocar (a medical instrument designed to both drain and deliver fluids) through a small opening near the navel, withdraws those fluids and gases, then delivers concentrated cavity fluid to those spaces.
Chemicals designed for cavity embalming are stronger than arterial solution because the fluids already present dilute them.
6. Final Wash, Restorative Art, and Dressing
Incisions are sutured and sealed, and the body is washed, dried, and groomed. Restorative art (opens in a new window) and cosmetics follow, worked from a photograph supplied by someone close to the deceased, so the result matches the person as they were known. Cosmetics correct the pallor that follows blood drainage. Dressing and casketing finish the preparation.
How Long Does the Embalming Process Take?
A study of embalmings at 13 U.S. funeral homes (opens in a new window) found the average case took about 73 minutes. Autopsied bodies, trauma cases, edema, and long intervals between death and preparation all extend that time, sometimes by hours.
Cosmetics, dressing, and casketing are counted separately, so a family asking when a viewing can be scheduled should hear the full preparation time.
The Training and Precision Each Step Demands
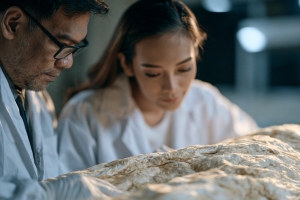
Funeral service and mortuary science programs accredited by the American Board of Funeral Service Education (opens in a new window) must devote at least 14 semester credits to public health and technical content covering chemistry, microbiology, human anatomy, pathology, restorative art, and embalming.
Students must actively participate in at least 10 embalming cases, and the standards define active participation precisely as raising vessels, mixing fluids, injecting fluids, cavity treatment, suturing incisions, and posing features.
Every case is logged on a signed report, and a qualified faculty member has to assess each student’s technical competence in person before graduation. For licensure, most states require the National Board Examination plus a supervised apprenticeship running one to three years, depending on the state.
Learn the Process at AAMI
The associate degree in funeral service at AAMI moves students through anatomy, chemistry, microbiology, and pathology before three sequential embalming courses and clinical casework.
Courses are available both on campus and online, except Restorative Art and the Funeral Directing Practicum, which are completed on the New York City campus. Clinical embalming cases are arranged at an approved funeral home site for nine of the 10 cases, which students often complete near where they live. The 10th case must be completed under the supervision of a qualified faculty member.
Request information about the program (opens in a new window) to see how the clinical requirements would fit into your schedule.